
Electric Trailer Brakes Guide: Wiring, Controller Setup and Adjustment
Electric trailer brakes work on a different principle from the air-actuated S-cam brakes on a semi-trailer: a magnet inside each drum is energized by the tow vehicle's brake controller, and how well that circuit is wired and adjusted decides whether the trailer brakes evenly or drags one wheel while the other does nothing. This guide covers trailer brakes wiring, brake controller setup and gain adjustment, cable and harness basics, and when changing electric trailer brakes makes more sense than chasing a fault wire by wire.
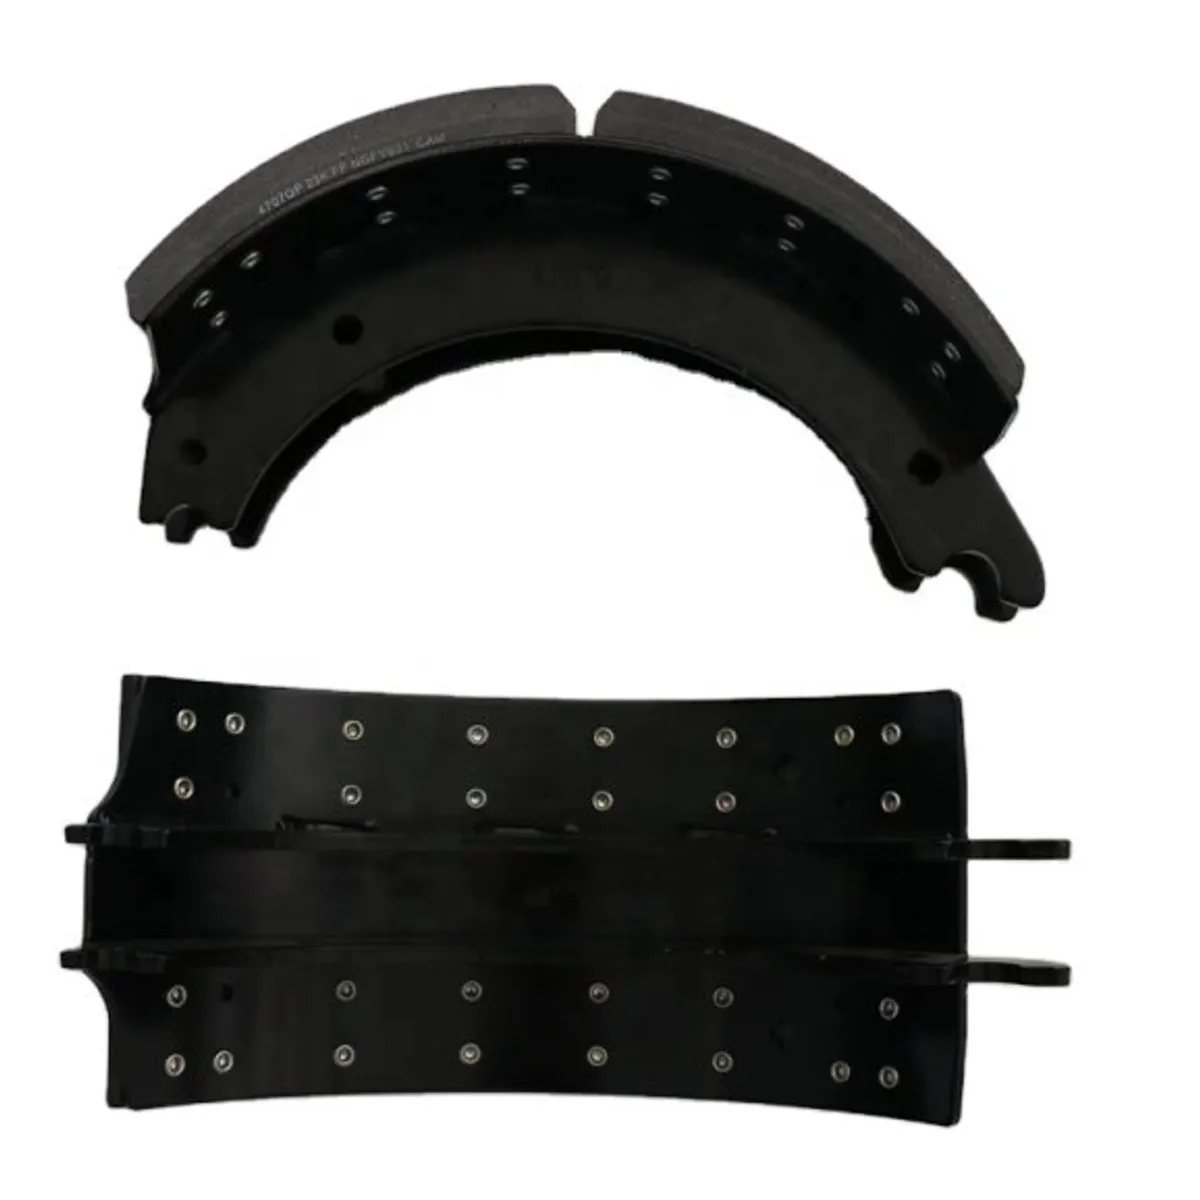
How Electric Trailer Brakes Work: Wiring Brakes on Trailer Axles
An electric trailer brake uses a stationary electromagnet mounted on the backing plate inside each drum. When the tow vehicle's brake controller sends current down the line, the magnet is pulled against the drum's rotating armature plate, and that drag levers the brake shoes outward against the drum — no air or hydraulic pressure involved at all, just current and a magnet.
Wiring brakes on a trailer for this system means running three conductors to each braked axle: a battery hot lead (usually blue, fed from the controller), a ground, and a magnet lead per side, all meeting at a junction box or splice point and routing back through the trailer's plug to the tow vehicle. Trailer brakes wiring failures are disproportionately caused by a poor ground connection rather than a bad magnet — corrosion at a ground point reads on a multimeter as a weak or intermittent circuit that looks exactly like a failing magnet until you isolate it.
This entire wiring path is separate from the drum, hub, and bearing hardware itself, which we cover under trailer wheel hubs and brake drums — a fresh magnet on a corroded ground still won't brake correctly, so check the wiring before replacing hardware.
Brake Controller Setup and Gain Adjustment
A trailer brake controller kit sits in the tow vehicle and applies current to the trailer's magnets in proportion to how hard the driver brakes, either through a built-in accelerometer (time-delay and proportional controllers both use some form of this) or a direct link to the tow vehicle's own brake pedal. Setup starts with gain: the dial or setting that controls how much current reaches the magnets for a given brake application.
Gain has to be set to the trailer's actual loaded weight, not left at a factory default. Too low, and the trailer under-brakes, letting it push the tow vehicle under hard stops; too high, and the trailer's wheels lock and skid well before the tow vehicle's do, which both wears the magnets and shoes faster and is genuinely dangerous on wet roads. The usual field method is to start low, brake gently in a safe empty area, and increase gain in small steps until the trailer brakes firmly without locking up.
Whether it's an aftermarket trailer brake controller added to a tow vehicle that didn't come with one, or a factory-installed unit, the gain adjustment procedure is the same — it's a tuning step, not a one-time install setting, and should be rechecked whenever trailer load changes significantly, for example running empty versus fully loaded.
Brake Controller Wiring Harness, Plug and Kit
Most tow vehicles built in the last two decades have a dedicated brake controller wiring harness pre-run from the factory, ending in a plug that a brake controller wiring harness simply clips into — no splicing required. Where that factory harness isn't present, an aftermarket brake controller wiring harness taps into the vehicle's brake light and battery circuits through a dedicated connector rather than bare-wire splices, which matters for both reliability and warranty on newer vehicles with sensitive electronics.
On the trailer side, a trailer brake controller plug — typically a 7-way round or flat 4/5-way connector — carries the hot, ground, and magnet leads in one connection, so hooking up or swapping trailers doesn't mean re-wiring anything each time. If you're fitting a controller for the first time, a CURT brake controller harness and a Tekonsha brake controller wiring harness are two of the more common combinations we see specified by fleet buyers — either brand's harness plugs into the same standard trailer-side connector described above, so the choice comes down to which controller you're pairing it with.
A trailer brake controller harness sold as a kit typically includes the harness itself, the mating plug, and mounting hardware for the controller — buying it as a kit avoids mismatched connectors between the harness and the controller you actually install. For a first-time installation on a trailer that's never had a controller, an electric trailer brake wiring kit that bundles the harness, plug, and junction box connectors together is usually the simpler starting point than sourcing each piece separately.
Trailer Brake Cables and Wiring Maintenance
Trailer brake cables — the wire runs from the junction box out to each magnet along the axle — take more physical abuse than almost any other part of the circuit, since they're routed close to the road and exposed to salt, mud, and flexing every time the axle moves on its suspension. Insulation cracking from UV and road grit is the most common failure mode, followed by chafe-through where a cable rubs against a frame member or axle bracket over time.
Trailer brake cable replacement is a straightforward job once a cracked or chafed run is found, but the harder part is finding it — a visual inspection at every service, checking for cracked insulation, exposed copper, and secure routing clips, catches most problems before they turn into an intermittent brake fault that's difficult to diagnose on the road. Route replacement cable the same way the original ran, clear of moving suspension components, and re-seal any junction box connections against water intrusion.
Changing Electric Trailer Brakes: Magnets, Shoes and Drums
A magnet has a limited service life — the friction surface wears down with every application, the same way a brake lining does, and a worn magnet loses holding force even on a correctly wired, correctly adjusted circuit. Once a magnet is worn, budget the job as an electric trailer brakes replacement rather than a single-part fix: shoes, magnet, and often the drum itself tend to wear together, so replacing only the cheapest part usually means doing the job again within a season.
For a full rebuild, an electric trailer brake kit with drums bundles the complete electric trailer brake assembly — magnet, shoes, springs, and a matched drum — as one part number, which is the more economical route once more than one component in a wheel end needs replacing. We supply these kits sized to the same 4, 5 and 6-lug hub patterns covered on our trailer wheel hubs and brake drums page.
As with any drum brake, replace shoes and magnets in axle pairs, not one side at a time — mismatched braking force side to side is what causes a trailer to pull or sway under hard braking.
Electric-Hydraulic and Electric Disc Brakes vs Electric Drum Brakes
Not every trailer running a brake controller uses a magnet-actuated drum. Electric hydraulic trailer brakes use the same controller signal, but instead of energizing a magnet, the signal drives a small electric-over-hydraulic actuator that pressurizes brake fluid to standard hydraulic drum or disc calipers — a setup common on boat trailers and heavier utility trailers where hydraulic brakes were already the base spec and electric control was added on top.
Electric disk trailer brakes take this further, pairing the electric-hydraulic actuator with a disc caliper instead of a drum, trading some cost and complexity for the better wet-weather fade resistance disc brakes are known for. Neither of these systems shares parts with a magnet-actuated electric drum brake — the controller and wiring at the tow-vehicle end look similar, but the trailer-side hardware is entirely different, so confirm which type you're running before ordering replacement parts.
Frequently Asked Questions
How do I adjust electric trailer brakes?
What's the difference between electric and electric-hydraulic trailer brakes?
Do I need a specific wiring harness for a Tekonsha or CURT controller?
How often should I plan on changing electric trailer brakes?
Can I get an electric trailer brake kit with drums included?
My trailer brakes stopped working after I wired a new controller — what should I check first?
Tell us the part you need and your destination port — we'll send specs & a quote today.
Reply within 24 hours — or WhatsApp us at +86 199 5331 6215.